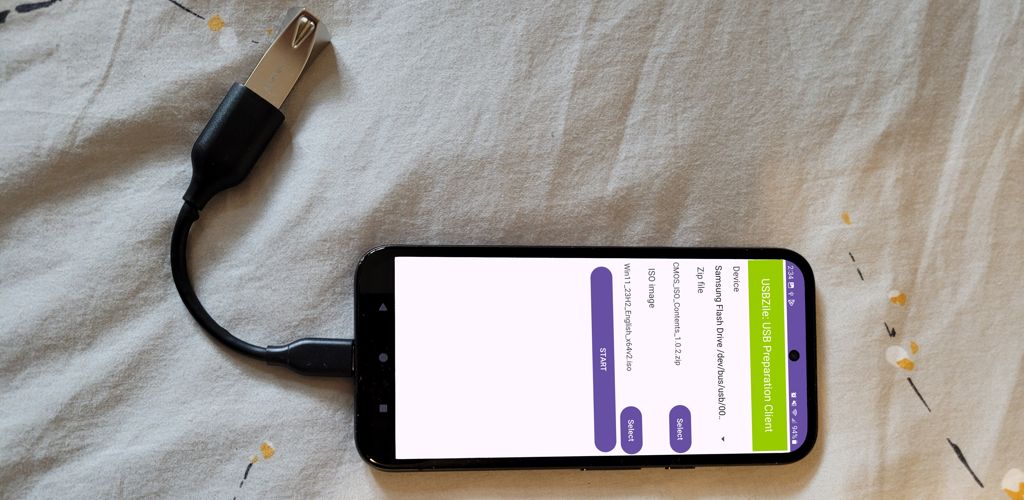
Creating Windows Installation Media on Android

Let's discover how to create a Windows Installation Media USB using an Android device.
What you'll need
- Android Device: Make sure it supports OTG. Most modern android devices include this feature.
- Flash Storage Options:
- Option 1: An 16GB+ flash drive with a USB Type C connector.
- We recommend the SanDisk 64GB Ultra Dual Drive Go
- Option 2: An OTG cable and an 16GB+ flash drive with a USB Type A connector.
- We recommend the UGREEN OTG cable and the Samsung BAR Plus 64GB flash drive
- Option 1: An 16GB+ flash drive with a USB Type C connector.
- USBZile Android App:

Creating the Installation Media
- Download the Windows 11 Disk Image (ISO)
- Note: It is easy to download the wrong file from Microsoft's website.
Use the screenshot below to help you locate the correct download.(show screenshot)

- Note: It is easy to download the wrong file from Microsoft's website.
- Open USBZile
- Under Device select the USB flash drive that you want to turn into installation media
- Note: This process will delete all data on the selected USB flash drive
- Under ISO image select the Windows Disk Image you downloaded from step 1
- Click START, then wait for the USB flash drive to be created
Congratulations, you now have a Windows Installation Media USB!