Creating Windows Installation Media on macOS

Let's discover USBZile in less than 1 minutes.
What you'll need
- An 8GB or larger USB flash drive
- We recommend the Samsung BAR Plus 64GB USB Flash Drive
- macOS 10.13.6 (High Sierra) or newer
- Supports Apple Silicon (M1, M2, M3, and M4) and Intel Macs.
- USBZile
- Windows Disk Image
Creating the Installation Media
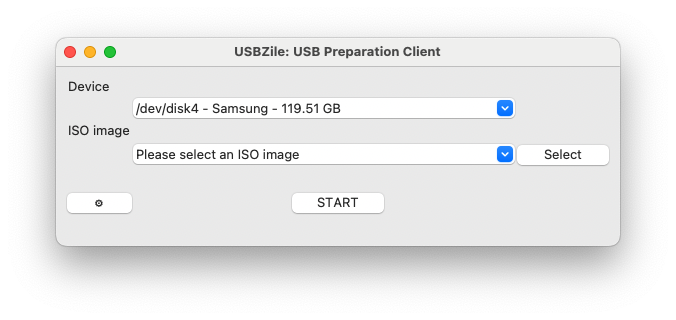
- Open USBZile
- Under Device select the USB flash drive that you want to turn into installation media
- Note: This process will delete all data on the selected USB flash drive
- Under ISO image select the Windows Disk Image you downloaded earlier
- Click START, then wait for the USB flash drive to be created
Congratulations, you now have a Windows Installation Media USB!